

How to set up 802.1X client settings (Windows )
Before you do the settings, please check you operating system are 32 bit or 64 bit processors.
(If you are not certain of your operating system, please click the URL for more information.)
Please follow the two steps to set up,
 Step 1. Download and install the EAP-GTC (Extensible Authentication Protocol - Generic Token Card) module.
(If you are not certain of your operating system, please click the URL for more information.)
Please follow the two steps to set up,
Step 1. Download and install the EAP-GTC (Extensible Authentication Protocol - Generic Token Card) module.| Operating System | 32 bit Processor | 64 bit Processor |
|---|---|---|
| Download File | EAP-GTC-X86.msi | EAP-GTC-X64.msi |
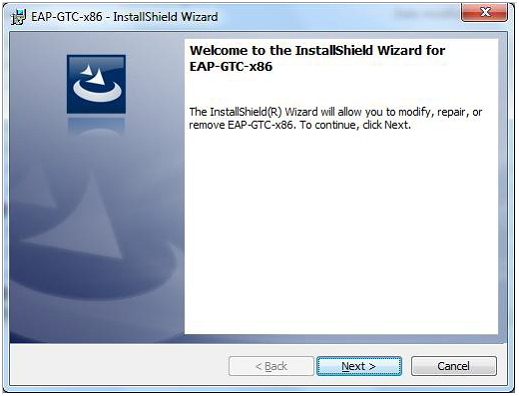
1.1 Here is the quick instruction showing how to install the "EAP-GTC-X86.msi" for 32 bit processor, perform the following steps:
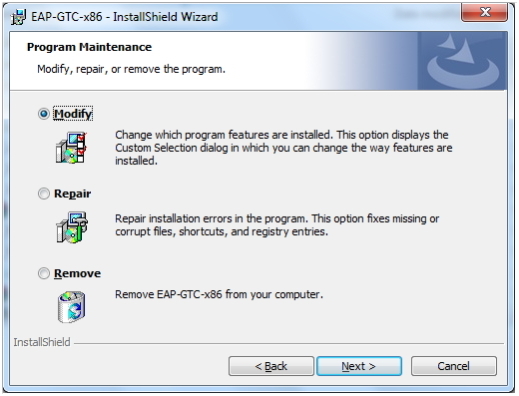
1.2. Please choose “Modify”, and click “Next”
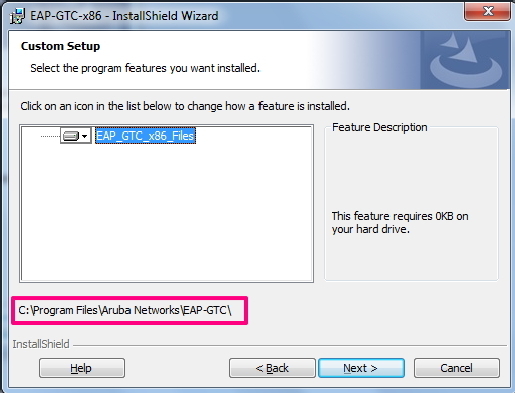
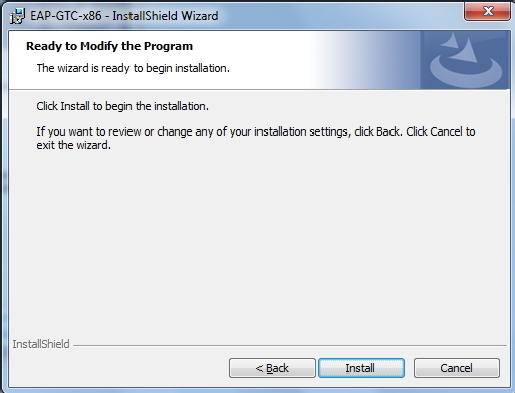
1.3. It shows where to install the module, click “Install” to complete installation.
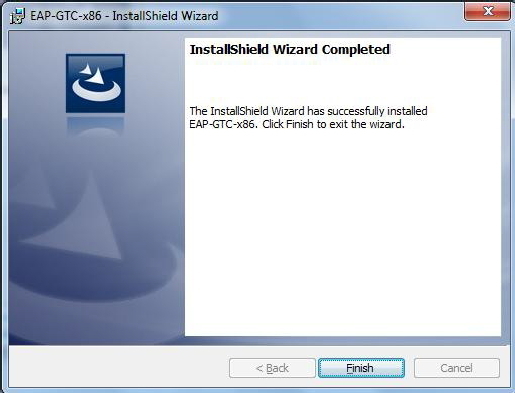
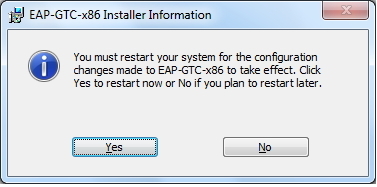
1.4. Click “Yes” to restart the computer in order to run the module.
1.2. Please choose “Modify”, and click “Next”
1.3. It shows where to install the module, click “Install” to complete installation.
1.4. Click “Yes” to restart the computer in order to run the module.
Step 2. Using the InstallerThis is the easier way to get ArubaWifiCfg_Vista.exe (Aruba Wifi Auto-Configuration Tool) set up on your machine.
2.1 Download and run ArubaWifiCfg_Vista.exe. It allows the wireless users can setup the wireless profile on their device with one click. After you run the auto configuration tool should able to sign-in and use 802.1X wireless access (SSID:NTUT-802.1X).
| Operating System | Windows 10, Windows 8, Windows 7, Vista |
|---|---|
| Download File | NTUT-802.1X_for_Vista_and_7_8.rar |
If you have trouble to set up 802.1X connection by install module, please try manual settings.
 Windows 10
If you have related questions for 802.1X access setting, please contact #3200/ #3228 of Computer and Network Center Help Desk at 2771-2171.